If you’ve been looking for a crypto exchange that’s fast, private, and beginner-friendly, this Bitunix trading tutorial is for you.
Bitunix has become one of the most trusted low-verification exchanges for altcoin futures - offering up to 125x leverage without requiring identity verification. But if you’re new to futures, it can feel confusing to get started.
This Bitunix trading tutorial walks you through:
Not sure which margin mode to use? Read our cross margin vs isolated margin guide.
If you’re starting small, read how one trader went from $500 to $5,000 with a crypto futures strategy.
- How to sign up with zero verification
- How to place your first altcoin futures trade
- How to manage use, stop-losses, and profits
- Bonus tips to help you avoid beginner mistakes
Whether you’re brand new to futures or just tired of identity verification delays on other platforms, this guide will get you started in minutes.
Want to learn more about how Bitunix stacks up against other exchanges? Check out our Bitunix Review or the full Crypto Futures Comparison Guide.
Step 1: Create a Free Bitunix Account
The first step in this Bitunix trading tutorial is getting signed up - which only takes a minute.
Bitunix is a low-verification exchanges, meaning there’s no identity check, no selfie, and no delays. Here’s how to open your account:
- Go to Bitunix registration
- Enter your email and set a password
- Confirm your email and log in
You now have full access to altcoin futures trading with up to 125x use, no lengthy verification.
Bitunix Signup Checklist
| Task | Why It Matters |
|---|---|
| Enable 2FA | Protects withdrawals and settings |
| Whitelist withdrawal wallet | Prevents unauthorized transfers |
| Choose your preferred chain | USDT-TRC20 offers lower fees |
| Bookmark the site | Avoid phishing domains |
Bitunix doesn’t collect your personal information, but that means security is entirely in your hands. Be sure to complete all the steps above before funding your account.
Next in this Bitunix trading tutorial: how to use the dashboard to find your trading pairs and monitor the market.

Step 2: Navigate the Bitunix Dashboard
Once your account is live, the next step in this Bitunix trading tutorial is learning how to use the dashboard.
Bitunix keeps things clean and simple. The main areas you’ll use are:
- Wallet - for transfers, deposits, and withdrawals
- Futures - where all your trading happens
- Copy Trading - for following top traders (optional)
Key Sections of the Futures Dashboard
| Section | Description |
|---|---|
| Trading Pairs | Select altcoins like DOGE, PEPE, SOL, or XRP |
| Chart Panel | Integrated with TradingView for pro-style analysis |
| Order Entry | Set leverage, choose order type (market, limit, trigger) |
| Position Panel | Track PnL, liquidation price, open orders |
| Leverage Control | Drag slider to set 1x-125x leverage per trade |
Compared to Binance or Bybit, Bitunix feels smoother and more lightweight. There are no locked menus or identity verification walls blocking your trades.
Understanding the dashboard is key to this Bitunix trading tutorial. In the next section, we’ll walk through how to select the right altcoin and set your leverage properly.
Step 3: Choose Your Trading Pair and Leverage
Now that you’ve learned the dashboard, the next step in this Bitunix trading tutorial is selecting a trading pair and setting your leverage.
Bitunix offers dozens of altcoin futures, including both trending and legacy coins. Some of the most popular include:
- DOGE/USDT - High-volume meme coin, moves well with news cycles
- SOL/USDT - Liquid and technical, ideal for swing traders
- XRP/USDT - Known for sharp spikes on regulatory developments
- PEPE/USDT - Ultra-volatile with frequent breakout setups
Leverage Recommendations on Bitunix
Leverage lets you multiply your position size, but it also increases risk. Bitunix allows up to 125x leverage on many pairs, but that doesn’t mean you should use it right away.
| Leverage Amount | Who It’s For | Notes |
|---|---|---|
| 1x-5x | Beginners | Great for slow movers or swing trades |
| 6x-20x | Intermediate traders | Balance between risk and control |
| 25x+ | Advanced/high-frequency | Use only with tight stop-losses |
Start low. Test your first few trades with 3x-5x leverage and always use a stop-loss.
Next, we’ll show you how to place your first trade step-by-step.

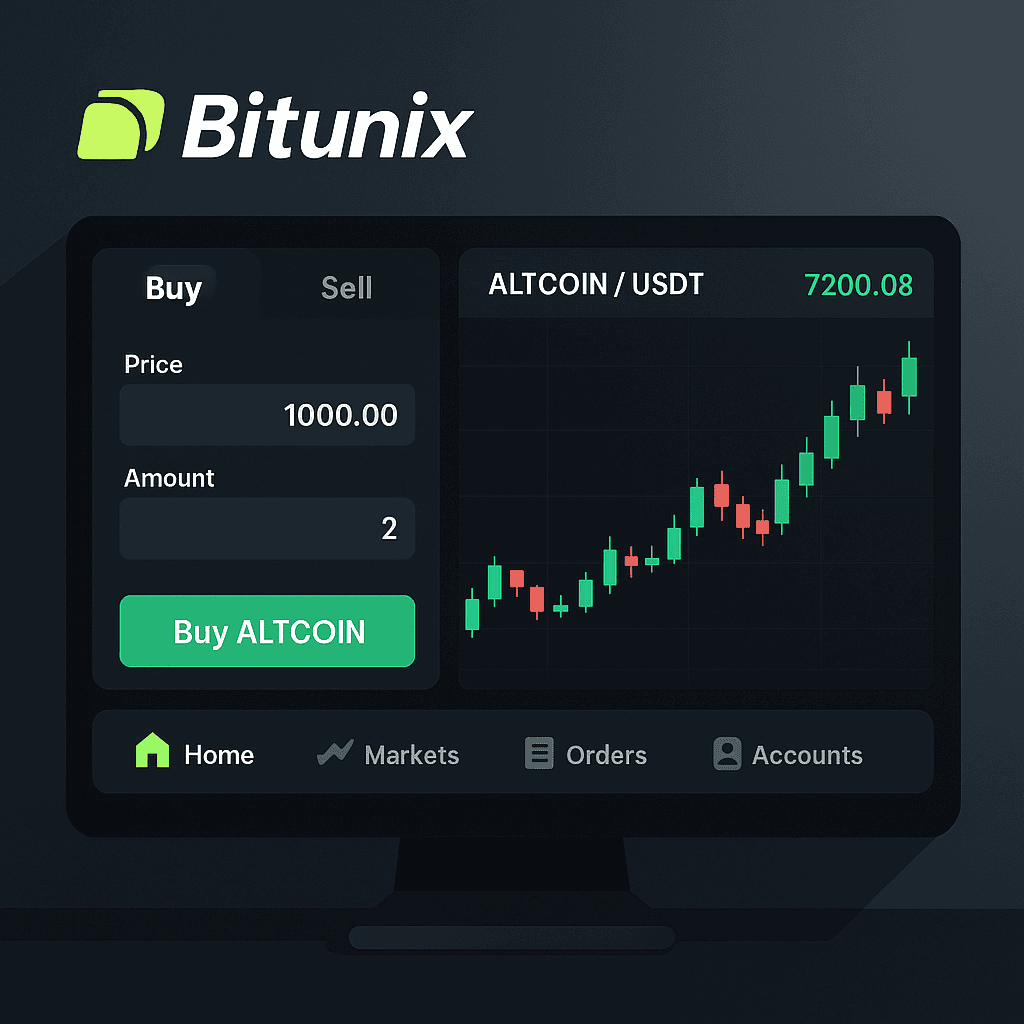
Step 4: Place a Futures Trade on Bitunix
Now that you’ve selected your pair and set leverage, the next step in this Bitunix trading tutorial is placing your first trade.
Bitunix supports the three main futures order types:
- Market Order - Executes instantly at the current market price
- Limit Order - You choose the price; executes only if market hits it
- Trigger Order - Executes once a set trigger price is reached
Example: Placing a Limit Order
- Choose your pair (e.g. DOGE/USDT)
- Set your leverage (e.g. 5x)
- Select “Limit” and input your entry price
- Add Stop-Loss and Take-Profit if desired
- Click “Open Long” or “Open Short”
Bitunix will preview the trade, showing liquidation price, margin impact, and fee estimates, all before you confirm.
Pro Tip:
Always start with small trade sizes until you’re confident with how the interface works. Futures can be unforgiving without proper controls.
Up next in this Bitunix trading tutorial: how to manage your open positions once you’re in a trade.
Step 5: Manage Your Open Positions

Once your trade is live, this Bitunix trading tutorial shows you how to monitor and manage your positions in real time.
What You’ll See
On the Bitunix futures interface, scroll down below the charts to view your open trades. Each active position will display:
- Entry Price - Your order’s fill price
- Mark Price - Real-time market price Bitunix uses for liquidation logic
- PNL (Unrealized) - Profit or loss if you close now
- Liquidation Price - The price where your margin is wiped
- Funding Rate Timer - Shows when funding applies
Managing Your Positions
- Close All / Close by Limit - Exit partially or fully
- Adjust Leverage - Yes, you can change this mid-trade
- Set or Edit TP/SL - Add targets and safety exits post-entry
Bitunix makes it easy to manage multiple positions at once, especially useful if you’re trading different altcoins simultaneously.
Next up in this Bitunix trading tutorial: our top bonus tips (and most common beginner mistakes to avoid).

Step 6: Bonus Tips and Beginner Mistakes to Avoid
Even with the right tools, most new traders slip up early. This section of the Bitunix trading tutorial is your shortcut to smarter trading.
Do’s and Don’ts of Bitunix Trading
| Do ✅ | Don’t ❌ |
|---|---|
| Start with 1x-5x leverage | Jump straight into 50x+ |
| Use stop-losses every time | Let emotions decide exits |
| Test trades with small capital | Go all-in on your first attempt |
| Learn 1-2 pairs deeply | Chase whatever’s trending |
| Withdraw profits regularly | Leave everything on the exchange |
These tips apply whether you’re trading DOGE, PEPE, or XRP. Bitunix gives you freedom, but that also means you must self-regulate.
Additional Tips:
- Watch funding rates on trending pairs, they signal risk
- Don’t ignore your liquidation price, it can creep up fast on altcoins
- Log out after sessions and never share your credentials
In the final part of this Bitunix trading tutorial, we’ll recap everything and share links to go even deeper.
Understanding Bitunix Fee Structure
Before you start trading actively, understanding fees prevents costly surprises. Bitunix uses a maker-taker fee model common across crypto exchanges:
| Order Type | Fee | When It Applies |
|---|---|---|
| Maker (Limit Order) | 0.02% | When your order adds liquidity to the order book |
| Taker (Market Order) | 0.06% | When your order takes liquidity from the book |
| Funding Fee | Variable | Every 8 hours on perpetual futures positions |
Why this matters for beginners: If you only use market orders, you’re paying 3x more in fees than necessary. A simple habit change, switching to limit orders when possible, saves hundreds of dollars over time. On a $10,000 position, the difference is $2 (maker) vs $6 (taker). Across 100 trades in a month, that’s $400 saved.
Funding fees are separate from trading fees. They’re exchanged between long and short holders every 8 hours. If the rate is positive and you’re long, you pay short holders. If negative, shorts pay longs. Check the current funding rate before opening any position you plan to hold overnight.
Your First Trade: Complete Walkthrough
Let’s walk through an actual BTC/USDT futures trade on Bitunix from start to finish. This example uses conservative settings appropriate for beginners.
Scenario: You have $500 in your futures wallet and want to open a long BTC position.
- Select BTC/USDT perpetual from the trading pairs menu
- Set leverage to 5x, this is low enough to avoid quick liquidation but still meaningful
- Choose Isolated Margin mode, this limits your risk to only the margin you assign to this trade, not your entire account
- Set your position size: Risk 2% of account = $10 risk. With 5x leverage and a stop-loss 2% below entry, invest $100 margin (controlling $500 notional)
- Set a limit buy order at a support level (e.g., $95,000 if BTC is at $96,000)
- Immediately set your stop-loss at $93,100 (2% below entry × leverage consideration)
- Set your take-profit at $99,750 (5% above entry for a 2.5:1 reward-to-risk ratio)
This setup means you risk $10 to potentially make $25. Even if you’re wrong more often than right, the math works in your favor over time.
Reading the Bitunix Trading Interface
The Bitunix trading interface shows critical information that many beginners overlook:
- Mark Price vs. Last Price: The mark price is what determines liquidation, not the last traded price. During volatile moments, these can differ significantly. Always watch the mark price.
- Liquidation Price: Displayed for every open position. If the mark price hits this level, your position is automatically closed and you lose your margin.
- Unrealized PnL: Your current profit or loss on open positions. This fluctuates with every price tick.
- Margin Ratio: The percentage of your margin being used. Above 80% is dangerous territory.
- Funding Rate & Timer: Shows the current funding rate and when the next settlement occurs. Critical for holding positions across funding intervals.
Building a Trading Plan on Bitunix
Random trading leads to random results. Every successful Bitunix trader follows a plan. Here’s a template for beginners:
Pre-Trade Checklist:
- ☐ Check the daily and 4-hour chart trend, am I trading with or against the trend?
- ☐ Identify key support and resistance levels
- ☐ Calculate position size based on 1-2% account risk
- ☐ Define exact entry, stop-loss, and take-profit before opening the trade
- ☐ Check the funding rate, will I be paying or receiving?
- ☐ Verify I’m in Isolated Margin mode
During Trade:
- ☐ Don’t move your stop-loss further away from entry
- ☐ Consider moving stop to breakeven once trade is 1.5x your risk in profit
- ☐ Don’t add to a losing position
Post-Trade:
- ☐ Record the trade in a journal (entry, exit, reason, result, lesson)
- ☐ Analyze what went right or wrong, regardless of outcome
- ☐ Take a break if you hit a loss. Don’t revenge trade.
Bitunix Mobile App Tips for Beginners
Most Bitunix users trade on mobile. Here are tips to make your mobile trading experience smoother:
- Enable price alerts: Set alerts at key levels so you’re notified when trading opportunities arise, instead of constantly watching charts
- Use the quick-close button: In volatile markets, the one-tap close feature is faster than navigating to order entry
- Lock your leverage: Set your default leverage for each pair so you don’t accidentally open a 50x position when you meant 5x
- Enable biometric login: Face ID or fingerprint prevents unauthorized access if you lose your phone
- Bookmark your pairs: Star your most-traded pairs so they appear at the top of the list
Common Bitunix Error Messages and What They Mean
Beginners often encounter confusing error messages. Here’s what the most common ones mean and how to fix them:
| Error Message | What It Means | How to Fix It |
|---|---|---|
| “Insufficient margin” | Not enough USDT in your futures wallet for this position size | Transfer funds from spot to futures wallet, or reduce position size |
| “Reduce only” | You can only close existing positions, not open new ones | Usually means you’ve hit a position limit, close existing trades first |
| “Order price deviates too much” | Your limit price is too far from current market price | Adjust your limit price closer to the current market price |
| “Maximum position exceeded” | You’ve hit the max position size for your leverage level | Lower your leverage or reduce position size |
| “Trigger price invalid” | Your stop-loss or take-profit trigger is on the wrong side | Ensure stop-loss is below entry for longs, above for shorts |
If you encounter an error not listed here, Bitunix’s 24/7 live chat support can help resolve it quickly. Don’t guess, incorrect workarounds can lead to unintended trades.
Final Recap: Bitunix Trading Tutorial Wrap-Up
You’ve just completed the ultimate Bitunix trading tutorial, a step-by-step roadmap from signup to live trades.
Let’s recap what you’ve learned:
- How to create a minimal verification account in under 60 seconds
- How to navigate the Bitunix dashboard and features
- How to choose altcoin pairs and adjust leverage wisely
- How to place and manage live trades securely
- Bonus tips to avoid rookie mistakes and protect your capital
This Bitunix trading tutorial was built to save you weeks of trial and error. Bitunix gives you powerful tools, but your success depends on how you use them.
Register now to get your exclusive bonus and start trading smarter on Bitunix, without lengthy verification, restrictions, or delays.
Keep Learning:
- Full Bitunix Review
- How to Use Bitunix for Altcoin Futures
- Bitunix vs Blofin Comparison
- Best Crypto Futures Exchanges Guide

CryptoPulseHQ is a crypto-focused publication built by professional traders, for traders. With over 6 years of experience in the crypto space, our mission is to simplify exchanges, tools, and strategy, so you can trade smarter and stay one step ahead.
We publish daily guides, comparison blogs, and step-by-step tutorials to help you navigate the fast-moving world of crypto with clarity and confidence.
This guide was written by a cryptocurrency researcher with extensive experience in altcoin platforms, decentralized trading tools, and global exchange analysis. Our goal is to help users trade securely and responsibly through transparent education. -
**Disclaimer:** This content is for informational purposes only and does not constitute financial, investment, or legal advice. Always review the laws in your country before using any cryptocurrency platform. Trading involves risk, and past performance is not a guarantee of future results. Some of the links on this site are affiliate links, which means we may earn a commission if you click through and make a purchase, at no additional cost to you.